Replicability Information
Click here to go back to Homepage.
Table of Contents
Data Processing
MapReduce
1. Launch Hadoop EMR cluster
a. login AWS EMR and select Create cluster. You can select the following configuration:
ClusterName: MyMapReduce

Launch mode “Cluster”

Release: 5.29.0

Applications: Core Hadoop

Instance type: m4.xlarge

Number of Instances: 3
b. Click on “Create Cluster” and wait for the cluster to be ready. The cluster is ready when its state is “Waiting” and the Master and Core under the Networks and hardware section are both in “Running” state.
2. Submit a MapReduce job
a. Upload mapper.py, reducer.py and raw dataset CaPUMS5full.csv to a new S3 bucket. Create a S3 bucket, and name it.
b. Go to the Hadoop cluster dashboard’s Steps tab and click on “Add Step” with the following configuration:
Step type: Streaming program

Name: MyHadoopJob

Mapper: Complete path to uploaded mapper

Reducer: Complete path to uploaded reducer

Input: Complete path to uploaded input files

Output: Complete path to new folder to be created with the output (it should not exist)
c. Wait for the “step” to be “completed”;
d. After “completed” you can check the execution time in the controller log file;
e. If the job is not successfully “completed”, you can check the logging files for further information;
f. Finally, check the results in the bucket, Hadoop creates one output file for each executed reducer task.
Spark
1. Launch Hadoop EMR cluster
a. login AWS EMR and select Create cluster. You can select the following configuration:
ClusterName: MySpark

Launch mode “Cluster”

Release: 5.29.0

Applications: Spark

Instance type: m4.xlarge

Number of Instances: 3
b. Click on “Create Cluster” and wait for the cluster to be ready. The cluster is ready when its state is “Waiting” and the Master and Core under the Networks and hardware section are both in “Running” state;
2. Login to the cluster
a. Write down the “Master public DNS” and click on the SSH link next to it. The SSH link gives you the commands you might use to login to your cluster;
b. SSH to the machine using the private key. A sample command is as depicted (modify accordingly). $ ssh -i $HOME/.ssh/course-key.pem hadoop@ec2-34-229-72-173.compute-1.amazonaws.com
3. Submit a Spark Script
a. Upload to the master VM the Spark spark_process.py script and the CaPUMS5full.csv file;
b. Upload the CaPUMS5full.csv file to the Hadoop file system:
$ hadoop fs -put CaPUMS5full.csv
4. Parallel Execution on Multiple Nodes
a. Using the following command to execute the script on 1 executors (worker nodes) with 4 threads per executor, achieving the execution of 4 simultaneous tasks:
$ spark-submit --num-executors 1 --executor-cores 4 spark_process.py
Distributed DPSGD with GPU acceleration
Infrastructure Deploying & Environment Setup
1. Creating the Nodes
a. login AWS EC2 and select Launch Instance.
b. Choose an Amazon Machine Image (AMI) - Here we will select the Deep Learning AMI (Ubuntu 16.04) Version 28.1.
c. Choose an Instance Type - Choose g3.4xlarge for testing multiple nodes with 1 GPU each; choose g3.8xlarge for testing multiple nodes with multiple GPU;
d. Configure Instance Details - We only need to increase the number of instances to 2;
e. Add Storage - The default setting of storage is only 75 GB, which is enough for our dataset;
f. Add Tags - Directly click on the next step;
g. Configure Security Group - create a new security group for the two nodes to be in. Remember your new security group name (e.g. dpsgd-secgroup) which will be used later;
h. Review Instance Launch - review the instance then launch it;
i. Go to “Security Groups” and edit the rules for the security group you created at step g:
- Inbound Rules: add rule that allow all traffics as Source.
- Outbound Rules: Same as inbound.
2. Environment Setup
a. Activate the pytorch environment: source activate pytorch_p36;
b. Install the latest Pytorch 1.1: conda install pytorch cudatoolkit=10.0 -c pytorch;
c. Install h5py pip install h5py.
d. Find the name of private IP of the node by running ifconfig (usually ens3) and export it to NCLL socket: export NCCL_SOCKET_IFNAME=ens3 (add to .bashrc to make this change permanent);
e. Upload code files to each node, or simply git clone from the repository;
f. Also, upload the data to each node if running without NFS (Network File System) setup;
g. Repeat above steps on each node.
3. Set up NFS
We use master$ denote master node and $node denote any other nodes.
Run the following commands on master node:
a. Install NFS server: master$ sudo apt-get install nfs-kernel-server;
b. Create NFS directory: master$ mkdir cloud;
c. Export cloud directory: by executing master$ sudo vi /etc/exports to open the /etc/exports and add /home/ubuntu/cloud *(re,sync,no_root_squash,no_subtree_check) to it;
d. Update the changes: master$ sudo exportfs-a;
Configure the NFS client on other nodes:
a. Install NFS client: node$ sudo apt-get install nfs-common;
b. Create NFS directory: node$ mkdir cloud;
c. Mount the shared directory: node$ sudo mount -t nfs <Master Node Private IP>:/home/ubuntu/cloud /home/ubuntu/cloud;
d. Make the mount permanent (optional): add the following line <Master Node Private IP>:/home/ubuntu/cloud /home/ubuntu/cloud nfs to /etc/fstab by executing node$ sudo vi /etc/fstab.
Running the Program
1. Getting the code processed data
Get the processed data file in hdf5 format from our project S3 bucket. The data format will be slightly different for Code Version 1 and 2.
Code Version 1:
wget https://cs205-dpsgd-dataset.s3.amazonaws.com/dataset_package.h5
Sequential and Code Version 2:
wget https://cs205-dpsgd-dataset.s3.amazonaws.com/dataset.h5
2. Runnng the sequential version of DPSGD
We use json file to store and load training parameters.
Run the following command on one node:
python seq_main.py --settings_path=<path of json file for training parameters>
For example, if the parameter settings are stored in config/seq_train.json, then simply run
python seq_main.py --settings_path="config/seq_train.json"
If you want to profile the sequential code and analyze the “hot-spot” of the program, you can use python cProfile library, and run command:
python -m cProfile -o seq_main.profile seq_main.py --settings_path="config/seq_train.json"
Here’s the interpretation of training parameters in config/seq_main.json:
- num_epoch: total number of epochs
- path: path of the training data
- l2_norm_clip: gradient norm bound (privacy parameter)
- noise_multiplier: gradient noise multiplier (privacy parameter)
- batch_size: training batch size
- minibatch_size: minibatch size for gradient clipping
- lr: learning rate
3. Run version 1 of distributed DPSGD (based on DistributedDataParallel module)
python dist_main_v1.py --settings_path=<path of json file for training parameters> --rank=<global rank of current process> --local_rank=<local rank of current process>
For example, if setting parameters are stored in config/dist_train.json, and we have 2 nodes and each with 1 GPU, we can run
python dist_main_v1.py --settings_path="config/dist_train.json" --rank=0 --local_rank=0
on the first node, and run
python dist_main_v1.py --settings_path="config/dist_train.json" --rank=1 --local_rank=0
on the second node.
The extra distributed training parameters in config/dist_train.json are:
- world_size: total number of processes
- master_ip: private ip addr of master node
- master_port: a free port of master node
- dist_backend: backend of PyTorch Distributed Library
- rank: the global rank of current process
- local_rank: the local rank of the current process (i.e. the ith GPU in the node)
4. Run version 2 of distributed DPSGD (implemented from scratch)
When all of the nodes have only one GPU device, the way to run Version 2 of code is exactly the same as the way to run Version 1.
When we have nodes that contain multiple GPUs (e.g. g3.8xlarge or g3.16xlarge), for the first process that uses device 'cuda:0', the command are exactly the same as above. However, process that uses device ‘cuda:x’, we should run:
CUDA_VISIBLE_DEVICES=x python dist_main_v2.py --settings_path=<path of json file for training parameters> --rank=<global rank of current process> --local_rank=<local rank of current process>
For example, when we are using one g3.8xlarge node with 2 GPUs, for the process that uses 'cuda:1', we should run
CUDA_VISIBLE_DEVICES=1 python dist_main_v2.py --settings_path="config/dist_train.json" --rank=1 --local_rank=0
Note that here the local rank of this process is 0 since this process only sees one GPU device. CUDA_VISIBLE_DEVICES=1 is mainly used to prevent runtime error that arguments may contain in different GPUs.
System Information
Software Version
- Python 3.6.5
- PyTorch 1.1.0
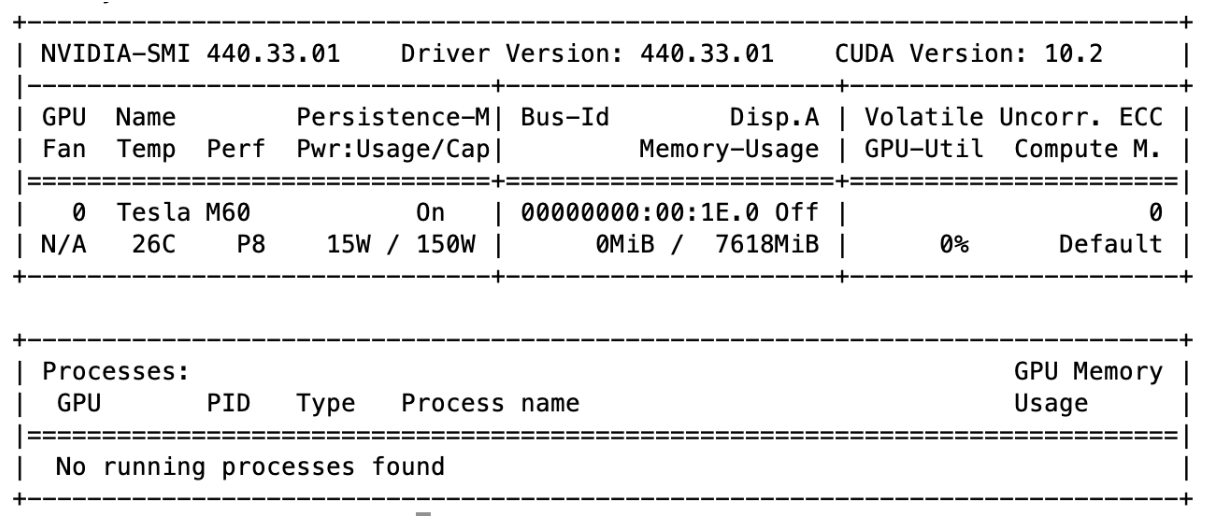
CUDA GPU Information
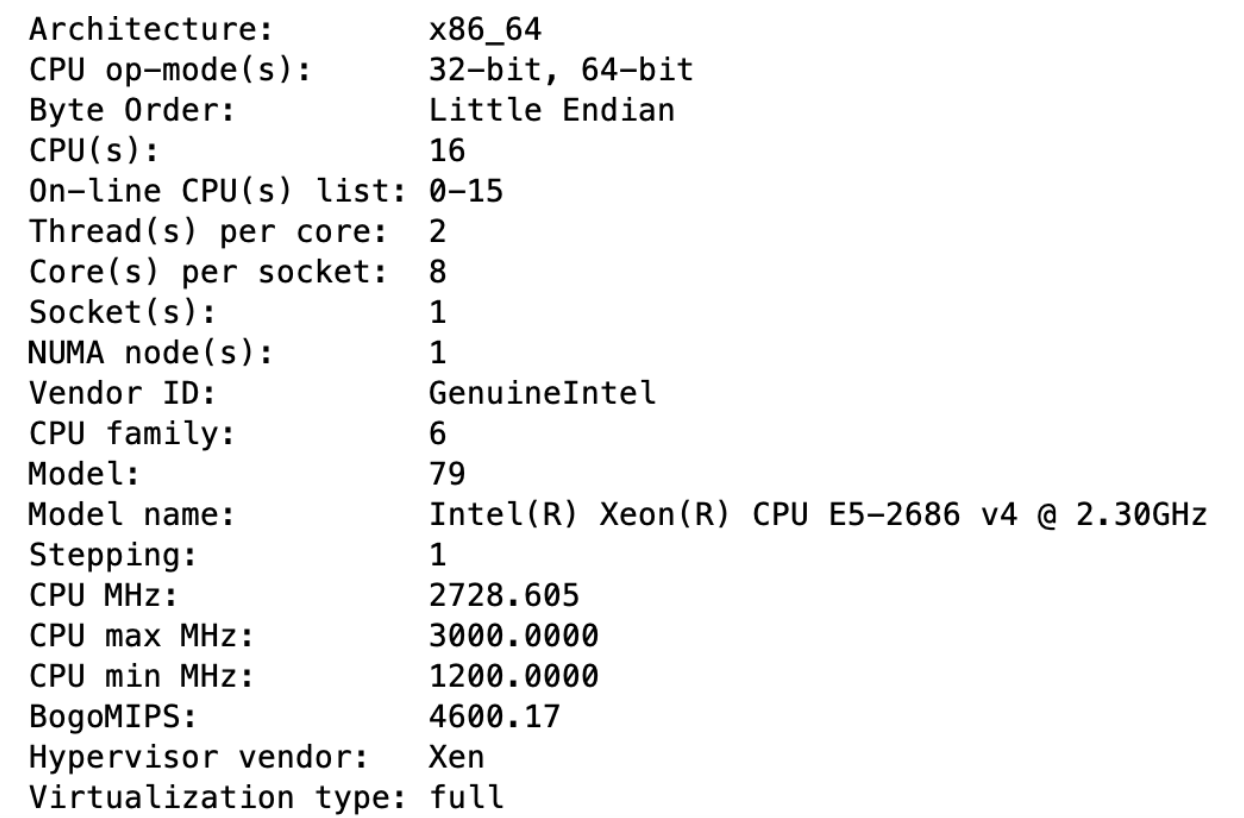
AWS Instance Information (g3.4xlarge)
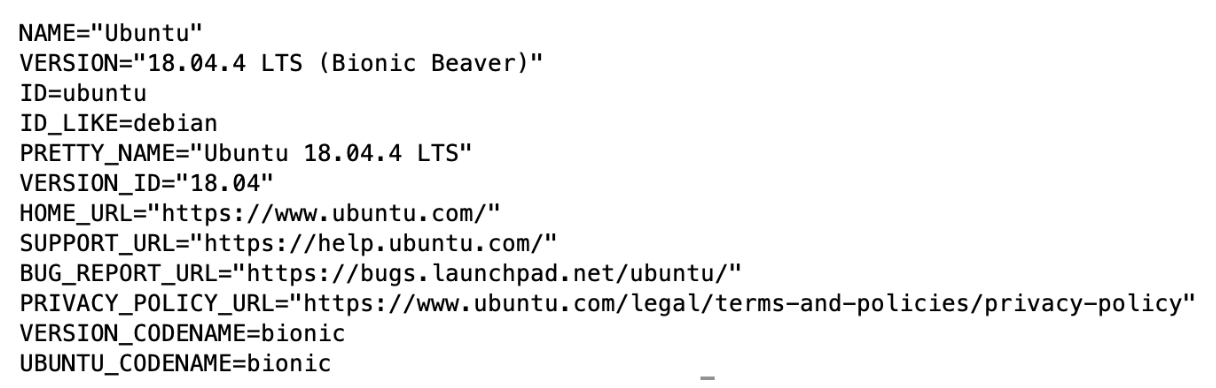
Operating System